How to Choose Bicycle Saddles for Youth Cycling Programs
For a school, nonprofit, or youth cycling program, the right bicycle saddle is not simply the softest or smallest model available. The first decision is whether the bicycle fits the rider; the second is whether the saddle provides appropriate support for that rider and riding position; and the third is whether the saddle can survive repeated adjustment and shared use.
This distinction matters because saddle discomfort is often caused by incorrect saddle height, reach, or bicycle size rather than the saddle itself. Cycling UK recommends considering a child’s height and inside-leg measurement rather than relying on age alone, while also emphasizing appropriate saddle height, reach, crank length, and control accessibility. citeturn1search0turn1search7
For shared youth bicycles, there is another layer: the same equipment may be used by riders with different body dimensions and experience levels. That makes adjustability, durability, inspection, and replacement planning almost as important as initial comfort.
1. Start With Bicycle Fit, Not the Saddle
A common procurement mistake is to replace an uncomfortable saddle before determining whether the bicycle itself is correctly sized.
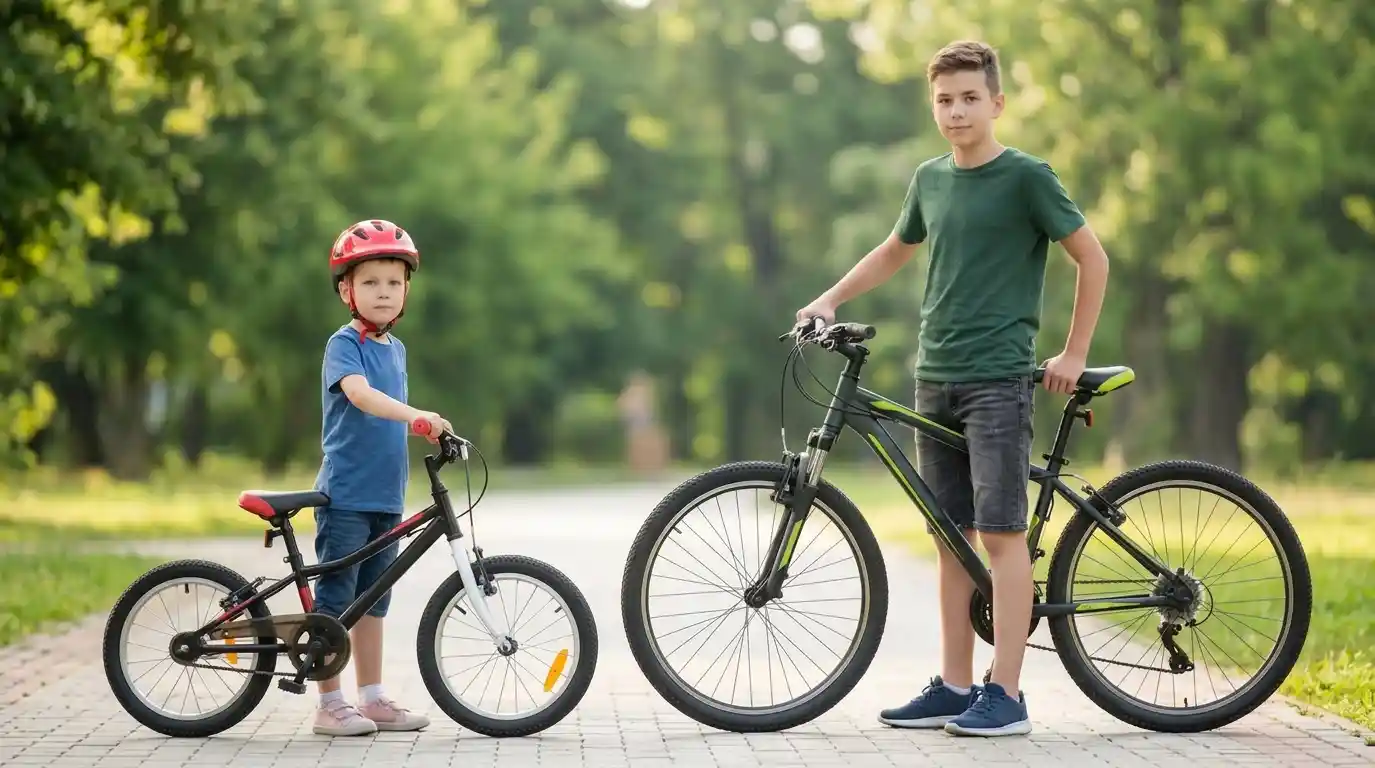
For children, wheel size is only one part of fit. Cycling UK points to inside-leg length, crank length, saddle height, handlebar reach, and control accessibility as important considerations. It also notes that younger or less-confident riders may prefer a lower saddle so they can place more of their feet on the ground when stopping. citeturn1search0
A useful program troubleshooting sequence is:
Bike size → saddle height → saddle position → riding position → saddle shape → padding/material
This order prevents a program from using a new saddle to compensate for an oversized frame or incorrect setup.
Saddle height deserves particular attention. Cycling UK states that the saddle should not be so high that the rider’s pelvis rocks from side to side. For younger riders, a lower position may be appropriate during skill development. citeturn1search1
Program Fit Check
Before changing saddles, staff should check:
- Is the bicycle within the rider’s intended size range?
- Can the rider reach the pedals comfortably?
- Can the rider reach and operate the brakes?
- Is the saddle within the seatpost’s adjustment limits?
- Does the rider remain stable without excessive pelvic movement?
- Is the handlebar reach appropriate?
If several answers are “no,” the problem may be the bicycle rather than the saddle.
2. Saddle Width and Shape Matter More Than “More Padding”
There is no scientifically validated universal table saying that a child of a particular age or riding a particular wheel size requires a specific saddle width. That would be an attractive specification shortcut, but the available evidence does not justify it.
Instead, saddle geometry should be considered in relation to rider anatomy, riding position, and load distribution.
Research using pressure mapping has demonstrated that changing saddle width can redistribute pressure across different regions rather than simply reducing total pressure. In one study of female cyclists, wider saddles shifted pressure toward the anterior region while reducing posterior pressure; the researchers concluded that saddle width influenced pressure distribution and discomfort rather than producing a simple “wider is better” result. citeturn0search1
Other research has also found that individual ischial-tuberosity width is associated with where pressure is concentrated on the saddle. citeturn0search3
The practical implication for youth programs is important:
Do not specify saddle width by age alone. Specify the intended rider range, bicycle geometry, riding position, and saddle support characteristics.
This is particularly important when a program serves a wide range of children.

3. Riding Position Changes the Saddle Requirement
A child riding an upright city-style bicycle does not load the saddle in exactly the same way as a rider leaning forward on a sport-oriented bicycle.
Cycling UK explains that upright riding places more body weight through the saddle, while a more forward riding position shifts more weight toward the hands and feet and changes the requirements for saddle comfort. citeturn1search2turn1search4
This means a program should evaluate the complete contact-point system:
Saddle + handlebar height + reach + pedal position + rider posture
A very soft saddle may feel comfortable during a short stationary test but may not be the best solution if its shape causes excessive movement or does not suit the rider’s position.
For program procurement, “comfortable” should therefore be treated as a use-case-dependent outcome, not a universal product characteristic.
4. Shared Youth Bicycles Need a Different Comfort Strategy
A privately owned bicycle has one primary rider. A school or community fleet may have many.
That difference changes the specification.
For shared bicycles, the relevant question is not:
“Does one child like this saddle?”
It is:
“Can this saddle provide acceptable fit and support across the intended rider range while remaining easy to adjust, inspect, clean, and replace?”
Shared-Use Equipment Checklist
Evaluate each saddle for:
| Factor | Program question |
|---|---|
| Fit | Does its size suit the intended bicycle and rider range? |
| Adjustment | Can staff make secure, repeatable height adjustments? |
| Structure | Are the rails, base, and attachment points robust enough for repeated use? |
| Cover | Can the surface tolerate routine handling and cleaning? |
| Padding | Does it provide appropriate support without relying on excessive softness? |
| Inspection | Can damage or deformation be identified quickly? |
| Replacement | Can compatible replacement units be obtained consistently? |
This framework is more useful than simply choosing the saddle with the thickest foam.
5. Durability Should Be Evaluated as a Lifecycle Cost
For a program, the purchase price is only one component of equipment cost.
A useful conceptual model is:
Lifecycle Cost = Purchase Cost + Adjustment/Maintenance Labor + Consumables + Downtime + Replacement Cost
No universal dollar figure should be assigned to these categories without actual program data. But the framework helps explain why a slightly different component specification can make operational sense even when its initial unit price is higher.
For example, if a saddle requires frequent readjustment, develops damage quickly, or is difficult to replace consistently, the program absorbs costs that do not appear on the original purchase order.
This is especially relevant for fleets with repeated rider turnover.
Keep a Simple Failure Log
Programs do not need sophisticated fleet-management software to learn from equipment failures.
For each recurring problem, record:
Bike ID → Component → Problem → Date → Rider/use context → Corrective action → Repeat failure
After several incidents, staff can determine whether the problem is an isolated maintenance issue or a specification issue affecting the fleet.
That evidence can then inform the next purchasing decision.
6. Safety Is a System, Not a Saddle Feature
A saddle cannot make an incorrectly sized bicycle safe by itself.
The U.S. Consumer Product Safety Commission’s federal bicycle requirements address areas including braking, assembly, protrusions, structural integrity, and reflectors under 16 CFR Part 1512. citeturn0search12
For children’s bicycles, Trek’s current owner guidance similarly emphasizes correct bicycle size, properly positioned seat and handlebar, and inspection before every ride. citeturn0search68
Program Pre-Ride Checklist
Before a youth session, staff should verify at minimum:
- Saddle securely attached
- Saddle height appropriate for the rider
- Seatpost within its marked limit
- Handlebars secure
- Brake levers reachable
- Brakes functioning
- Tires and wheels in usable condition
- Grips and handlebar ends intact
- No obvious structural damage
This makes saddle selection part of a broader program bicycle inspection system, rather than an isolated comfort decision.
7. When Should a Youth Program Replace a Saddle?
Replacement should be triggered primarily by condition and function, not an arbitrary age limit.
Consider replacement when there is:
- Structural damage
- Loose or compromised attachment hardware
- Severe cover deterioration
- Deformed or damaged support material
- Persistent movement after correct installation
- Damage that cannot be reliably repaired
- Repeated rider complaints after fit and adjustment have been checked
If the same failure occurs repeatedly across multiple bicycles, investigate the component specification rather than simply replacing individual units.
8. Questions to Ask a Saddle Supplier
For a school, nonprofit, or community fleet, supplier evaluation should focus on documentation and repeatability as much as product appearance.
Ask:
- What are the saddle’s actual dimensions and construction materials?
- What bicycle and rider applications is the design intended for?
- What attachment hardware and seatpost compatibility requirements apply?
- What quality-control checks are performed on finished saddles?
- What documentation is available for materials and product specifications?
- Are replacement units available with the same specification over time?
- What warranty or defect-resolution process applies?
- Can the supplier maintain specification consistency for future replenishment orders?
- What cleaning or storage practices are recommended?
- Are samples available for evaluation under the program’s actual riding conditions?
The objective is not to find a supplier claiming that its saddle is “the best.” It is to establish whether the product is appropriate, documented, repeatable, and maintainable for the intended program.
9. The Five-Question Fleet Decision Framework
Before approving a youth saddle specification, a program manager can ask five questions:
1. Does the bicycle fit the intended rider?
If not, solve the bicycle-fit problem first.
2. Is the saddle appropriate for the riding position and rider range?
Consider geometry and pressure distribution, not padding volume alone.
3. Can staff adjust and inspect it efficiently?
Shared equipment needs repeatable setup and straightforward inspection.
4. Can it withstand the actual operating environment?
Consider frequency of use, handling, cleaning, storage, and exposure.
5. Can the program maintain and replace it predictably?
Availability, specification consistency, and failure tracking matter over the fleet’s life.
Conclusion
For youth cycling programs, the best saddle is not necessarily the widest, softest, lightest, or most expensive model. It is the one that fits the intended bicycle and rider range, works with the riding position, provides appropriate support, and remains practical to maintain across repeated shared use.
The strongest procurement process is therefore fit-first and evidence-led: establish the bicycle’s size and adjustment range, investigate the actual source of discomfort, evaluate saddle geometry and construction, then consider durability, inspection, replenishment, and lifecycle cost.
For program operators, that approach does more than improve saddle selection. It creates a repeatable equipment-management process that can reduce avoidable maintenance problems, improve consistency across a shared fleet, and make future purchasing decisions easier to defend.