

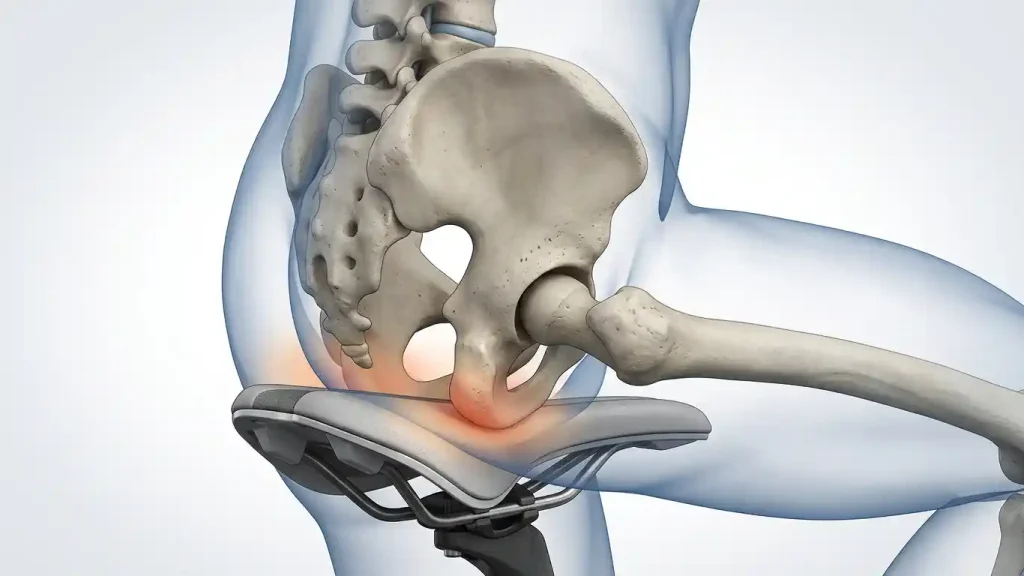
Last year I committed to triathlon training after years of running and swimming. As a pelvic-floor physical therapist I already understood how pressure on the ischial tuberosities, perineum, and soft tissues can affect the pelvic floor. What I had never experienced was carrying that pressure for two or three hours on a bike. After riding borrowed frames that never quite fit, I went to a small local shop. The owner measured me carefully, watched my position on the trainer, and helped me choose a bike that finally felt right—except for the stock saddle. Within the first few miles the rear of the saddle felt as if it were prying my sit bones apart while the nose pressed forward into soft tissue. Saddle discomfort is not a minor annoyance. It can create progressive numbness, force compensatory shifts that load the hands and low back, and, over time, contribute to pelvic-floor irritation. I already knew this from clinic. Now I was living it.
Finding a saddle that works is rarely simple. Most riders have already read the standard advice about width, cutouts, and padding, yet still feel stuck. This is not an encyclopedic guide to every saddle on the market. It is the path I walked—four successive saddles, each revealing a clearer map of where pressure was landing—and the practical process that finally produced a sustainable result. I found a saddle I can ride for hours without dreading the next climb. The same methodical approach can work for you.
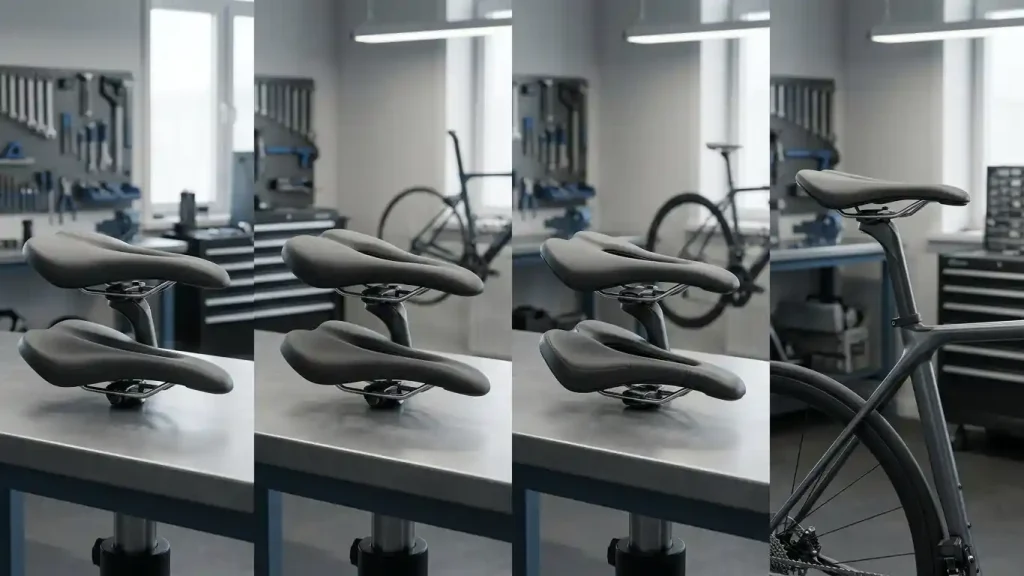
Four saddles, one pressure map
The first replacement was a wider, flatter platform with a modest central channel. The fitter explained that many stock saddles are shaped for riders who stay light on the saddle and shift frequently. For someone logging longer steady efforts and placing more consistent weight on the sit bones, a flatter shape can keep contact centered on the ischial tuberosities rather than allowing the pelvis to roll onto softer structures. On a 20-mile ride the sharp spreading sensation in the sit bones disappeared. That was real progress. By mile 15, however, a new discomfort appeared farther forward—pressure and intermittent numbness in the soft tissue anterior to the sit bones. My hands also began to tingle more than usual, a classic sign that I was still subtly unloading the saddle by shifting weight forward and gripping the bars harder. One problem solved, another exposed.
The second attempt used softer padding and a deeper, narrower cutout. The hypothesis was straightforward: extra foam would cushion the sit bones while the deeper channel would relieve anterior soft-tissue compression. The short test ride felt promising. On a longer outing the sit-bone ache did decrease, yet the anterior pressure never fully resolved. Worse, a new pinching sensation appeared in the gluteal fold—the crease where the buttocks meet the upper thigh. Softer foam allows greater tissue deformation. As the pelvis sank, contact area increased laterally and pressure that had been concentrated on bone was redistributed onto soft tissue that is less tolerant of sustained load. Soft padding is not automatically more comfortable once the ride stretches past an hour; it can simply move the problem sideways.
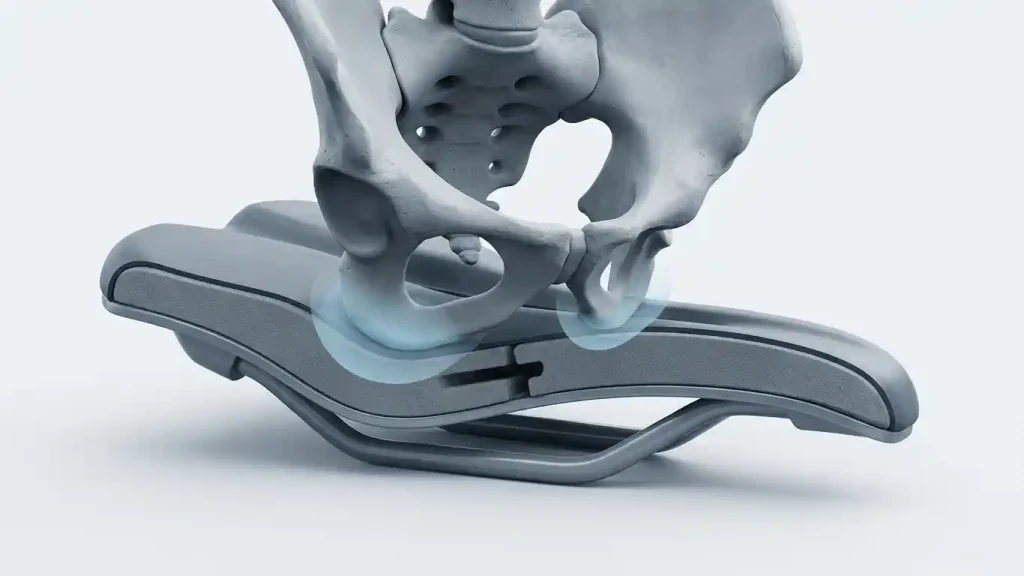
For the third saddle we kept a similar overall shape and generous cutout but moved to a firmer shell and denser foam. If sinking was the mechanism creating lateral pinch, a surface that resisted compression should keep more of my weight on the ischial tuberosities. The first few miles felt less forgiving. By the end of a 30-mile ride the pressure map had evened out. Anterior soft-tissue complaint was quieter, the gluteal-fold pinch was gone, and the residual sit-bone sensation was mild enough that a thicker chamois made it manageable. That combination—firmer platform, adequate cutout geometry, and better shorts—finally let me finish rides without constantly scanning for the next place I could stand.
A brief fourth refinement confirmed the pattern: small changes in saddle tilt and fore-aft position further reduced the remaining anterior pressure without reintroducing sit-bone discomfort. The decisive variables were not “more padding” or “wider is always better,” but the interaction of shell geometry, foam density, cutout shape, and my particular pelvic morphology and riding posture.
What the process actually teaches
Saddle selection is less about discovering a universally comfortable product and more about diagnosing where pressure is occurring and changing one variable at a time. Geometry often matters more than simply adding foam. A shape that keeps load on the ischial tuberosities while providing clearance for soft tissue will outperform a plush saddle that allows the pelvis to sink and rotate. This is why different rider segments—endurance and triathlon versus aggressive road racing—frequently need different platform designs, and why a single “best” saddle does not exist across body types, positions, and weekly volumes.
Three practical habits emerged from the trial-and-error:
- Test long enough for the real pattern to appear.
A five-mile spin only reveals the most obvious pressure points. The limitations that actually restrict training volume usually surface after 90 minutes to two hours, once fatigue, subtle position changes, and cumulative tissue loading accumulate. Longer rides gave me clearer diagnostic information than any short shop loop. - Work with someone who will stay in the conversation.
Even with a clinical background in pelvic anatomy I could not have predicted that a firmer saddle would ultimately feel better. A knowledgeable local fitter who watches you ride, listens to precise descriptions of location and timing, and is willing to swap saddles repeatedly shortens the process dramatically. Online width charts and review scores are useful starting points; they cannot observe how your pelvis interacts with a particular shape after an hour of climbing. - Describe the exact location without embarrassment.
“It hurts” is insufficient information. Distinguishing bony sit-bone pressure from soft-tissue compression, and noting whether the discomfort is more posterior, anterior, or in the gluteal fold, lets the person helping you match features to the actual contact point. If anatomical terms feel awkward, simply say “front soft tissue,” “back bony points,” or “where the cheek meets the leg.” Clear location language turns a vague complaint into a solvable pressure map.
One important boundary: persistent or progressive numbness, pain, or neurological symptoms should not be treated solely as a saddle-fitting problem. Professional medical evaluation is appropriate when symptoms continue despite reasonable equipment changes.
Individual variation is the real constant
The saddle that finally worked for me is not a universal recommendation. Pelvic morphology, riding posture, handlebar drop, weekly volume, cadence, and even chamois thickness all alter the pressure distribution. A geometry that relieved my anterior soft-tissue load might overload someone else’s sit bones. A firmness that felt supportive after two hours might feel harsh to a rider who prefers more give. The useful outcome is therefore not a single product answer but a repeatable process: notice precisely where and when discomfort appears, change one variable at a time, communicate clearly, and keep adjusting until the contact points and the padding match both anatomy and riding style.

You do not have to accept progressive numbness or sharp pressure as the unavoidable cost of staying on the bike. Take the time, find the person who will problem-solve with you, and keep describing what you feel. The right combination of geometry, density, and fit exists. See you out on the road.